
Now, you probably think a "proper" beehive should look like this:

... and you would, of course, be right! This is a hive design known in beekeeping circles as the "WBC", which stands for William Broughton Carr - the name of the chap who invented this design.
The key difference from the British National is that the WBC hive has a second, outer wall. This is constructed from sloping-sided boxes that interlock - these are what give the WBC its characteristic "zig-zag"-shaped profile. The second wall is supposed to provide additional insulation (it works very much like the cavity wall in your house) which should help to keep the colony warmer during winter. So, as well as looking like a "proper" beehive, it actually provides a better home for the bees.
In fact, internally the hives are almost identical - so much so, that it is actually possible to convert a National into a WBC, simply by adding the external boxes and changing to a wider roof. So, I thought I'd have a go...!
The first and most important job was to build and paint all the external boxes (known as "lifts"). This was a winter/spring job - here they all are, stacked at the apiary, ready for use:

Next, I needed to adapt the hive stand, so that I could stack the lifts around the existing hive boxes. A National hive stand is 18" square, while the WBC lifts are a little over 20" internally at the bottom, with an internal rim that the lift sits on. So, starting with the basic stand:

I screwed two 20" lengths of 3" x 1" planks to the sides of the stand:

... and an 18" length of 1" x ¾" batten at the back (the reason it's only ¾" deep and not 3" is to leave space for me to insert/remove the varroa tray):

Then, I needed to cut two fiddly bits that create a snug fit at the front (these stop the bees sneaking round the sides, when the entrance sliders are in place):

... and finally, paint the stand white, add the lifts and put the roof on top:
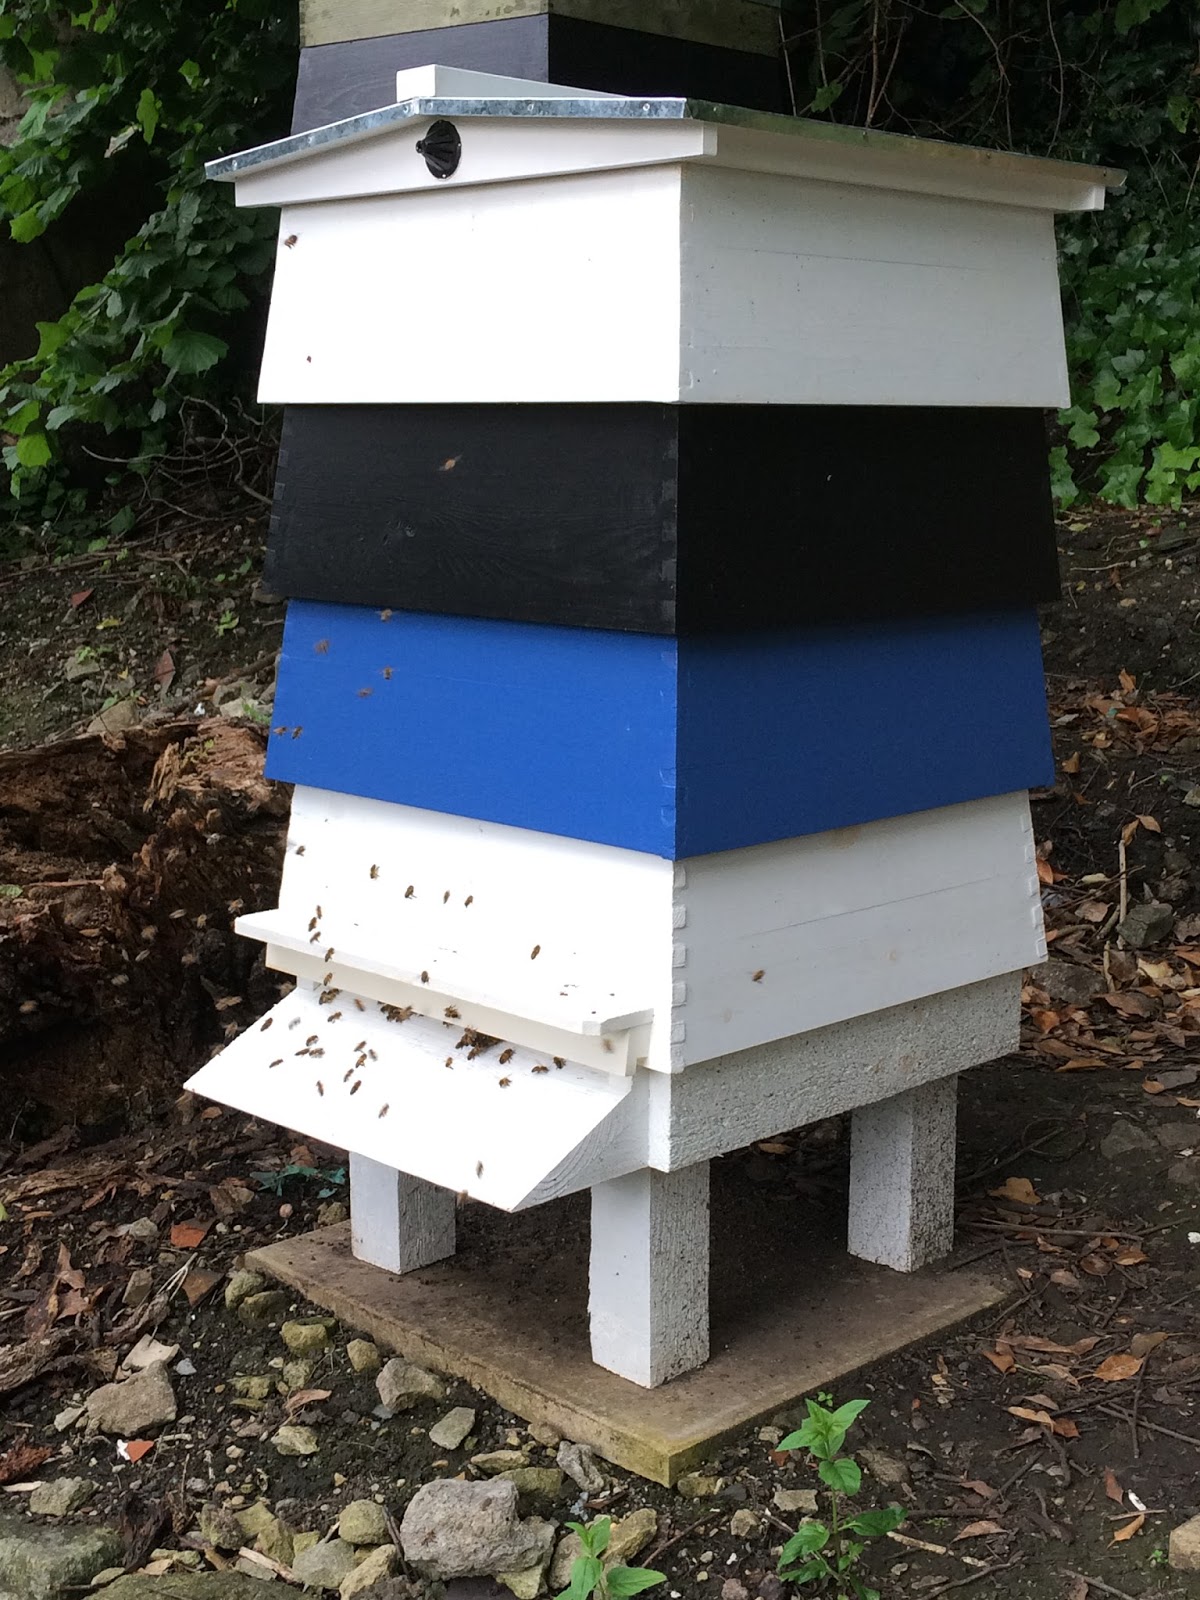
Finished - one very smart looking WBC hive!
Oh - and if you don't know why it's painted blue, black and white - then you're probably not from round here, are you...? :-)
No comments:
Post a Comment